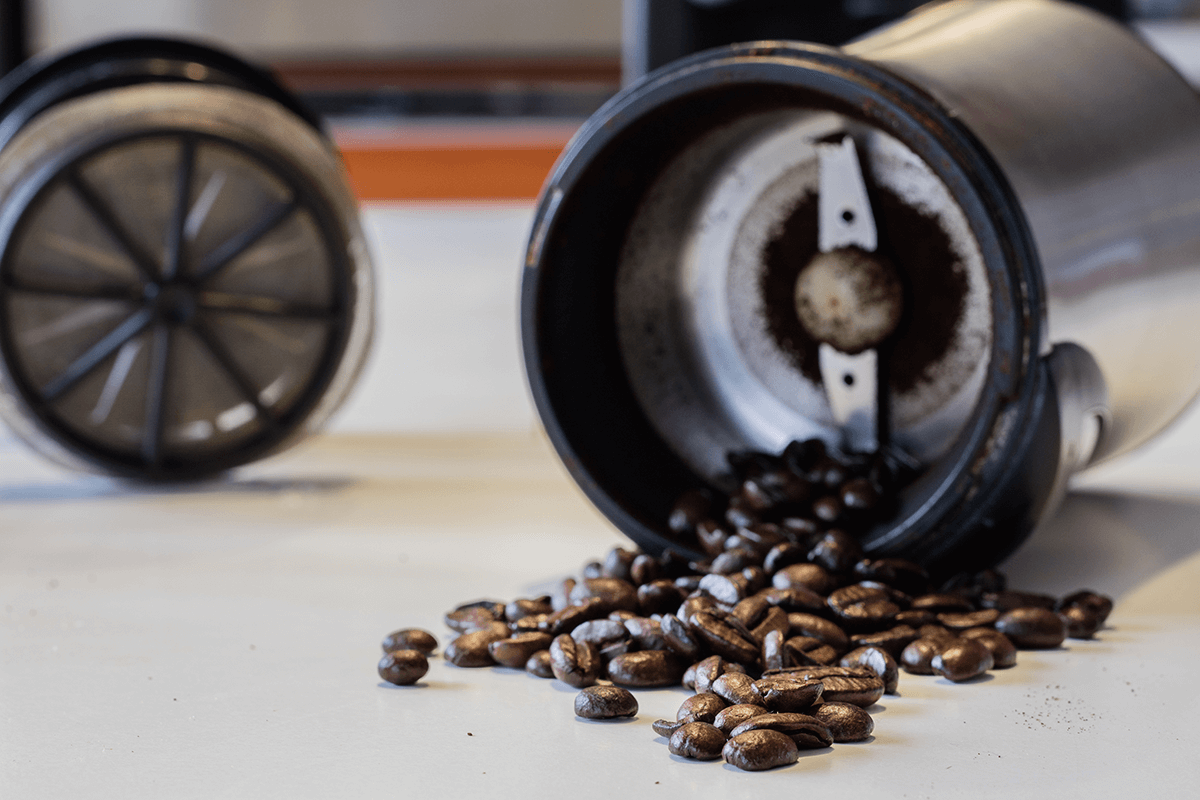
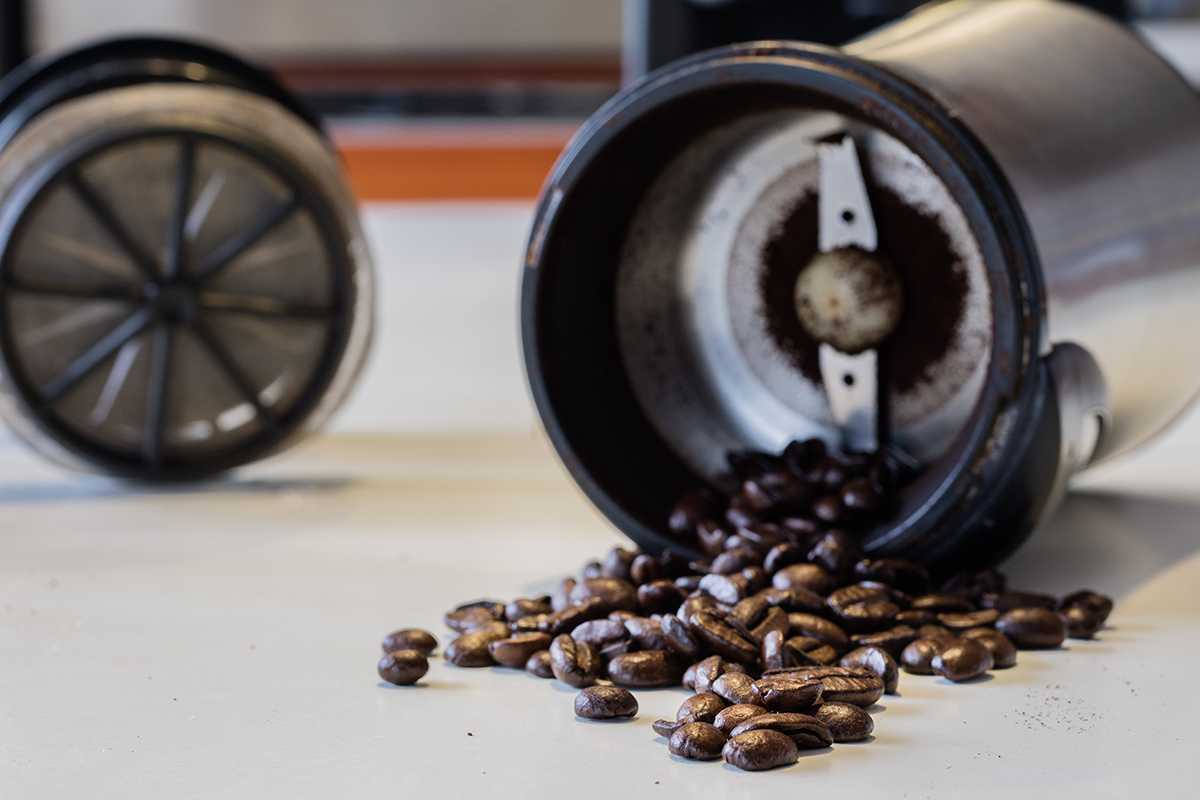
If you’ve ever waited way too long to clean out your coffee grinder, you already know why you shouldn’t do it.
Those once aromatic oils that used to coat your fair-trade beans build up into a bitter, evil-smelling*, just plain unpleasant sludge.
*If you’ve smelled it before, then you know.
If you don’t realize it before you keep using it to grind fresh coffee beans, you might wonder why all your new cups of coffee taste (and smell) awful. You might even blame a newly opened bag of coffee, thinking it went rancid, or that the beans were improperly roasted.
Good news is, this is really easy to fix.
How to Clean a Coffee Grinder
Depending on your grinder, you might have one that has removable and/or dishwasher safe parts. For these, you should refer to the manufacturer instructions for your specific model. For these instructions, I’ll be referring to a classic-style coffee grinder with non-removable parts.
Important: No matter what kind of grinder you’re about to clean, make sure it’s unplugged and that the power source is completely disconnected. Treat it like a blender, because it basically is one. If you have a USB or a battery-powered portable grinder, follow the manufacturer’s instructions to totally disconnect the power source before attempting to clean it.
Method #1 (Regular maintenance)
- With the power disconnected, use a damp towel (or a damp thick paper towel) to carefully wipe down the inside of the grinder as you would a blender.
- Repeat this approximately every 1-4 weeks to maintain a clean grinder, depending on how often you use it.
If your coffee grinder is really oily inside, or you just want to maintain it with a deeper cleaning method, try this:
Method #2 (Optional - For infrequent removal of oil residue)
For this method, you’ll need a small amount of dry, quick-cook rice. Grinding the rice will create a powder that the coffee oils will bond to, then you can just wipe up the powder.
Note: This method may void your warranty—check your coffee grinder’s user manual. Scary warning out of the way, it’s a method used by tons of people for infrequent, deeper cleanings—but you should still proceed at your own risk if you’re concerned about straining your grinder’s motor. If you’re dealing with a bad taste/odor in your machine that wiping with a towel won’t get rid of, this method might do the trick.
- Put a few tablespoons of rice in your grinder.
- Grind the rice until it is completely pulverized—it should look like flour—and dump it out.
- Unplug the grinder / disconnect the power.
- Wipe the powdery rice residue out of the grinder with a damp cloth (or a damp thick paper towel) carefully, as in Method #1 above.
- Repeat this type of cleaning infrequently, when you need to remove oils from your coffee grinder.
How Often to Clean Your Coffee Grinder
This will mostly depend more on how much mileage you’re actually putting on your coffee grinder as opposed to time.
Tip: The type of roast you’re grinding will determine how soon you need to clean out your machine as well; dark roasts will leave less residue behind, while light roasts will leave more.
There are no hard and fast rules, but if you’re using a coffee grinder several times a day like me, you’ll want to give it at least one good cleaning every couple weeks at a minimum.
If you’re just using it once a day, you might be able to wait 4 - 6 weeks.
If you use it regularly, but less frequently, you should make sure to clean it every few months.
If you only pull out your coffee grinder once in a blue moon, remember that leaving any amount of coffee residue in the machine for a prolonged period of time before you store it will have bad results. (At a minimum, it’ll add a bad taste and aroma to anything you grind in the machine until you clean it.)
Just like you wouldn’t want to put away a food processor or a blender with food residue on the blades, you naturally don’t want to put away a grinder for prolonged periods with residue/oils inside.
Why Not Clean it After Every Grind?
Great question. Compared to a blender that gets (hopefully) cleaned after every use, the recommendations for cleaning timelines above might seem like they’re meant for lazy slobs. However, while too much oil residue is bad and will make your coffee taste bad, having a very thin coating of coffee oils on your grinder’s blades will help prevent the onset of oxidation/rust.
So if anything, it’s actually a good idea to grind a little bit of coffee after each cleaning.