No matter how adventurous of a camper you are, there are three “comforts from home” that are non-negotiable:
- Coffee
- Toilet paper
- Caffeine
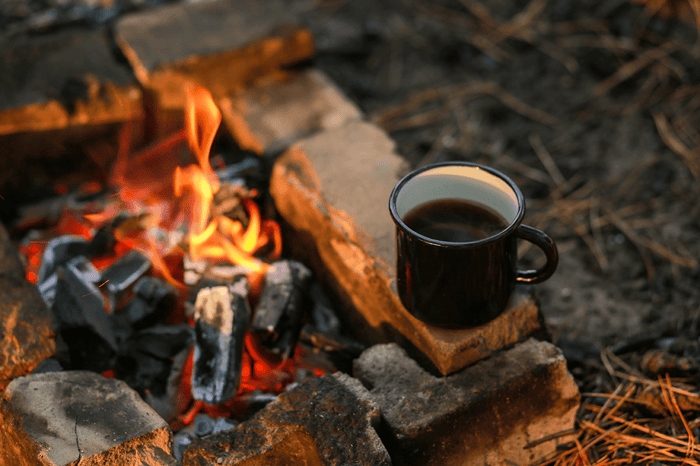
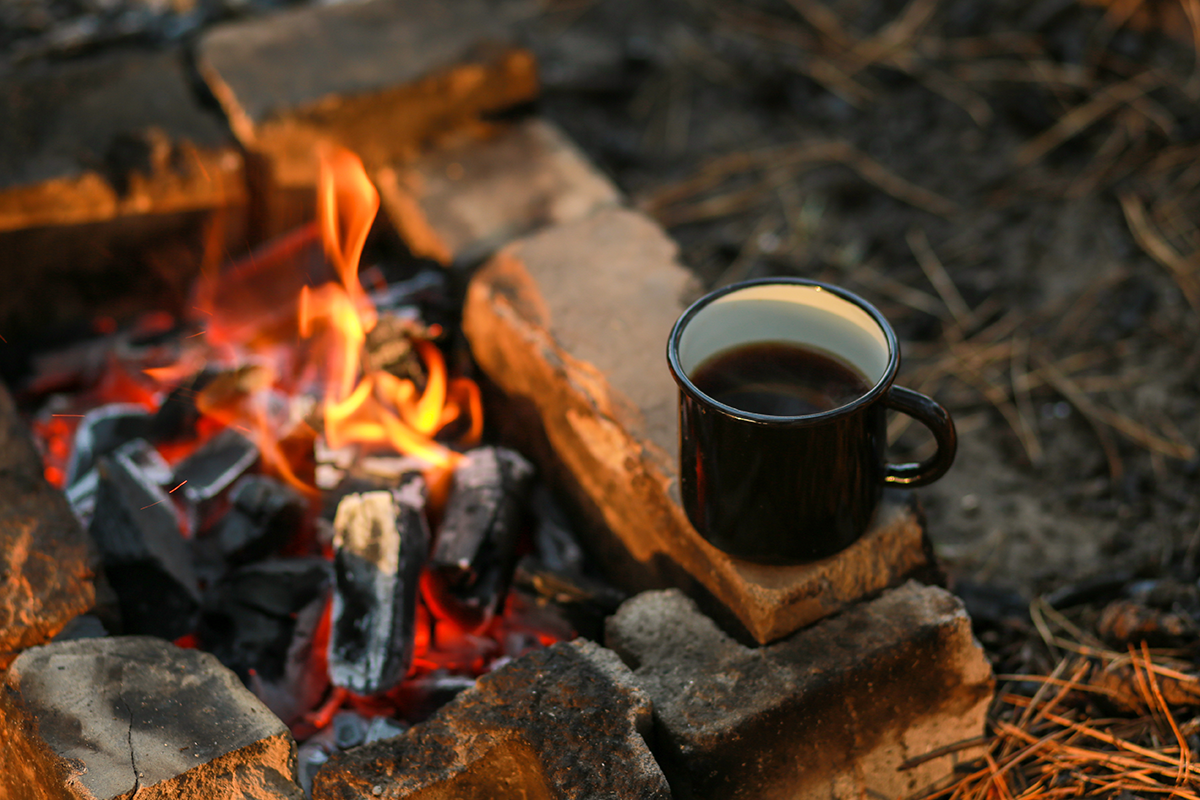
No matter which method you use from our guide, I’m sure you’ll agree: Coffee tastes damn good, and it tastes damn better next to a flickering campfire, under the Milky Way, with your phone in “power off” mode.
The Traditional Way: Cowboy Coffee
The most traditional way to brew a pot of coffee at a camp site is the “Cowboy Coffee” method.
It’s okay if you don’t have a measuring cup in your pack, the measurements mentioned in the instructions can all be “eyeballed.”
- Fill a pot with approximately 6 cups of water and bring it to a boil over a heat source (a campfire or a portable burner/hot plate can work)
- Remove the pot from heat, and add about ½ cup of ground coffee
- Stir the grounds in the hot water, then cover it and let the coffee extract for several minutes
- Pour into appropriate serving cups (ex. a washable metal drinking cup), angling the pot so the grounds don’t start rushing out of it.
- Drink up, pilgrim.
Tip: Optionally, you can add a tiny amount of cold water to the pot before step 4 to encourage the grounds to settle at the bottom of the pot.
The Super Easy Way: Pour Over
The simple pour over coffee brewing method works just as well in the woods as it does in your kitchen.
All you need is a pot (or even just a cup) and a cone-shaped pour over coffee maker like the Espro Bloom Coffee Brewer. Just heat up some water to just below boiling, position the Espro Bloom over your pot or cup, and brew your pour over coffee as you normally would at home.
Tip: For detailed instructions, see How to Make Pour Over Coffee.
The Classic Way: Percolator
No guide for making coffee while camping would be complete without mentioning this old-fashioned method.
What a percolator lacks in portability it makes up for with its nostalgia factor. Using one probably won’t win you any points with the coffee snobs in your life, but hey—you’re roughing it, not entering a taste competition.
- Assemble the percolator and fill the chamber with water to just below the internal basket.
- Add about 1 tbsp of ground coffee into the basket for every cup of water.
- Bring the percolator to a low boil over a camp stove, hot plate/burner, or campfire.
- When you see liquid popping into the dome, lower the heat (or move it away from the flame if you’re using a campfire) and let it simmer for 5-10 minutes. Make sure the heat source isn’t boiling the coffee.
Tip: Check out our article on How to Percolate Coffee for more detailed information.
The Best Tasting Way: AeroPress Go
The best method (or at least my favorite) for making coffee during a camping trip is to use an AeroPress Go. It’s already compact, easy to pack, and best of al, designed specifically for brewing awesome coffee away from home.
It also includes its own mug, which is extremely convenient when you want to travel as light as possible.
- Heat water to just below boiling.
- Put a filter in the AeroPress filter cap and twist the filter cap onto the chamber.
- Stand the chamber on the mug and use the included scoop to drop 1 rounded scoop of fine ground coffee into the AeroPress chamber. Shake the grounds until they’re level in the tube.
- Pour your hot (not boiling) water into the AeroPress Go chamber, and stir it for about 10 seconds.
- Insert the plunger and slowly push it down until it reaches the coffee grounds.
- Enjoy a rich, flavorful, smooth coffee experience out in the wilderness

