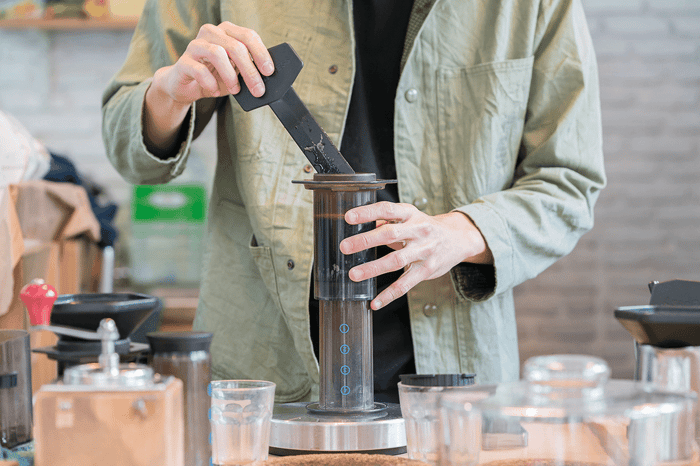

What is the Inverted AeroPress Brewing Method?
The AeroPress inverted brewing method involves… literally inverting an AeroPress.
What’s the point of doing this? Mainly, to allow the grounds to remain immersed longer, since gravity isn’t forcing the water to drip through the filter before you manually push it through with the plunger.
Since the water can’t pass through the filter until you’re good and ready, you have a lot more control over how your cup of coffee comes out.
But don’t leave it immersed for too long, or you’ll end up with an over-extraction on your hands, which defeats the purpose of inverting it in the first place.
In the end, your coffee will taste even better than AeroPress brewing using the non-inverted method.
With the water spending more time in contact with the grounds, your final cup of coffee will be stronger in both flavor and caffeine content.
Is The Inverted Method Really That Much Better?
I was a skeptic at first, too, but the answer is: Yes. In the standard (non-inverted) AeroPress brewing method, some of the water will immediately start dripping through the paper filter. This results in some of your coffee being under-extracted and just plain weak in both caffeine content and flavor.
Depending on how fine your grind is and how much coffee is actually in the chamber, you may get a lot more or a lot less premature leakage—but no premature leakage is really what we’re after here.
With this method, you’ll prevent all of that and achieve an overall better, more balanced cup of coffee.

What do you mean by “More balanced?”
Just that the flavor and caffeine is more consistent throughout the cup. Without getting a mix of all the early less-extracted coffee drips mixing in with the coffee that has had a longer extraction time.
What are the Downsides to the Inverted Method?
Well, as you might guess, it’s real fucking easy to make a giant spill if you’re not careful. You’ll need to make extra sure that the mug you’re using is sturdy (and has a stable base), as well as that you’re pushing straight down with the AeroPress. These are things you should be doing anyway no matter which AeroPress instructions you’re following, but once you’ve gotten used to brewing it in the non-inverted fashion it’s easy to get lax on the angle you’re pushing down with.
If you push down at too weird of an angle or are trying to brew into a mug that isn’t stable, you can accidentally cause a major kitchen (or desk) cleanup. And since it’s y’know… hot coffee, the chances of burns are increased if you’re not being careful.
So to recap, you should only try this method if you can do it in a careful, stable, controlled way.

Now—if you’re ready—let’s get started:
Instructions – How to Brew with an Inverted AeroPress:
- Insert the AeroPress plunger into the top chamber and set it upside down on a counter or another stable surface. Push the plunger into the chamber about ½ to 1 inch—enough for it to be stable. Tip: Now’s a good time to make sure that the end that connects to the paper filter holder is on top, or I’ll you’ll be cursing yourself out when you get to the final steps.
- Add your coffee grounds to the chamber.
- Pour your hot water into the chamber until the coffee grounds are entirely submerged (no dry areas), allowing a few seconds for the grounds to “bloom.”
- After the grounds have bloomed, fill the rest of the chamber until the water is roughly an inch or ½ inch from the top.
- Gently stir using the AeroPress paddle for about 15 - 30 seconds (I aim for 30 seconds—it certainly doesn’t hurt anything to stir the grounds a few seconds longer).
- Let the coffee steep in the chamber for about a minute or two depending on your strength preference.
- Attach the paper filter to the open end of the AeroPress using the filter holder cap.
- Here’s the tricky part: Smoothly flip the AeroPress over so that you can plunge it directly into your stable, sturdy mug. Tip: After you’ve done this a few times, it won’t seem so tricky. But the first couple times you’ll need to pay extra attention to make sure you don’t get hot water/coffee spilling on the counter or on your hands!
- Plunge the coffee through the AeroPress just as you would with the normal method.
Viola! You’ve mastered (or at least completed) the Inverted AeroPress method!
Enjoy your even richer, even stronger, even better tasting cup of coffee!